

A few weeks ago, I shared 6 ways to carve out time for creativity. If it weren’t for my travel art kit, I wouldn’t sketch or paint as often as I do. Because all of my supplies are in one place, I don’t have to spend precious time gathering up my art supplies. At the last minute, I tossed my travel art kit in my suitcase before leaving for Philly. I’m glad I did, because I was able to create when inspiration hit.
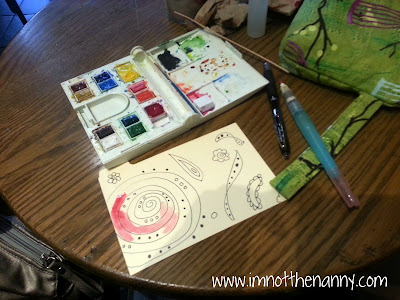 |
| I take my kit out for coffee sometimes. |
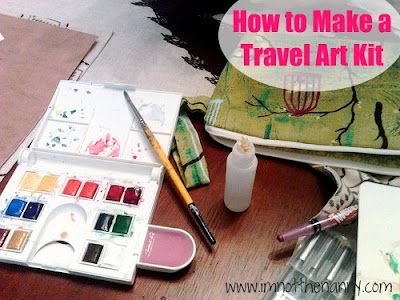
All you need is 6 simple, inexpensive supplies to get started. The key to assembling your travel art kit is to keep it simple. Here’s what I put in mine:
- A travel size watercolor set. Even if watercolors aren’t your preferred painting medium, I recommend them. Watercolors are low mess, easy to mix, and dry quickly if you don’t have a lot time. I found my Cotman Compact watercolor kit at the thrift store, new in package. Any inexpensive set of watercolor will do, like Sakura Water Colors Field Sketch Set with Brush. That one is a deal because it comes with a water brush
- Watercolor water brush. Whoever invited water brushes is a genius. It’s a paintbrush with a hollow handle that holds water. To wet the brush, you squeeze the handle. This eliminates the need for rinse jar. I have two Niji water brushes in large and small, but the Sakura Koi water brush looks just as good. They take a little getting used, but they’ve become one of my favorite brushes.
- Small spray bottle of water. I spritz my watercolor set to wet them before I start painting. The spray bottle comes in handy when I need to refill my the tank on my water brush. If you are flying with your kit, a travel size spray bottle won’t get you stopped at security.
- Set of Staedtler pigment liner pens. I’ve tried several different types of waterproof/water-resistant ink pens and these are my favorite. Sketching with an ink pen might feel uncomfortable at first, but just relax. You’re just sketching, not recreating the Mona Lisa! If you are on a budget, I recommend love Uniball Gel Pens. I keep one in every purse. Whatever ink pen you use, make sure it’s waterproof so if you decide to paint over it later, your sketch won’t smear.
- Watercolor paper. I cut pieces around 4″x6″ size so they fit into my bag. You don’t have to use watercolor paper, but it’s made to work with that medium. That way you’ll spend your time creating and not fighting with your paper. If you’re a beginner, I suggest purchasing some mid-range watercolor paper, postcards, or artist trading cards to start with. I’ve also used index cards guides, but because of their thinness, the paper will warp or pill. It’s not a problem for me because I’ve learned to work with them.
-
A zippered bag. All you need is a small zippered bag to put all of the above supplies in. It’s up to you how big it should be since you’re the one carrying it around. My bag is about 6″x8″ so I can throw it right into my
diaper bagpurse (or suitcase) and it won’t take up too much real estate.
A travel art kit will make a great gift for the creative person in your life. Mother’s Day is coming up soon, you know! Pair it with one of the books below.
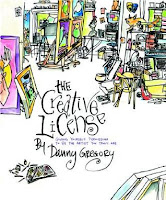
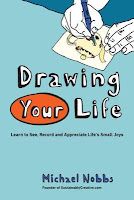
If you’re new to drawing/sketching or want to learn more, I highly recommend you pick up a copy of Danny Gregory’s The Creative License: Giving Yourself Permission to Be The Artist You Truly Are or Michael Nobbs’ Drawing Your Life: Learn to See, Record, and Appreciate Life’s Small Joys. Both encourage you to just draw and not worry about making it look perfect. You learn to observe and record things and moments around you.