


I’ve resisted making this tutorial for a long time even though I’ve received many requests on how to make Vietnamese spring rolls. It’s one of the easiest Vietnamese dishes to make. The ingredients are simply prepared.
Who really needs directions for gỏi cuốn? I asked myself. After speaking with some friends, I realized that it’s the simplicity that mystifies those who devour plates of freshly rolled ones at their Vietnamese restaurant. How could something good be so easy to make?
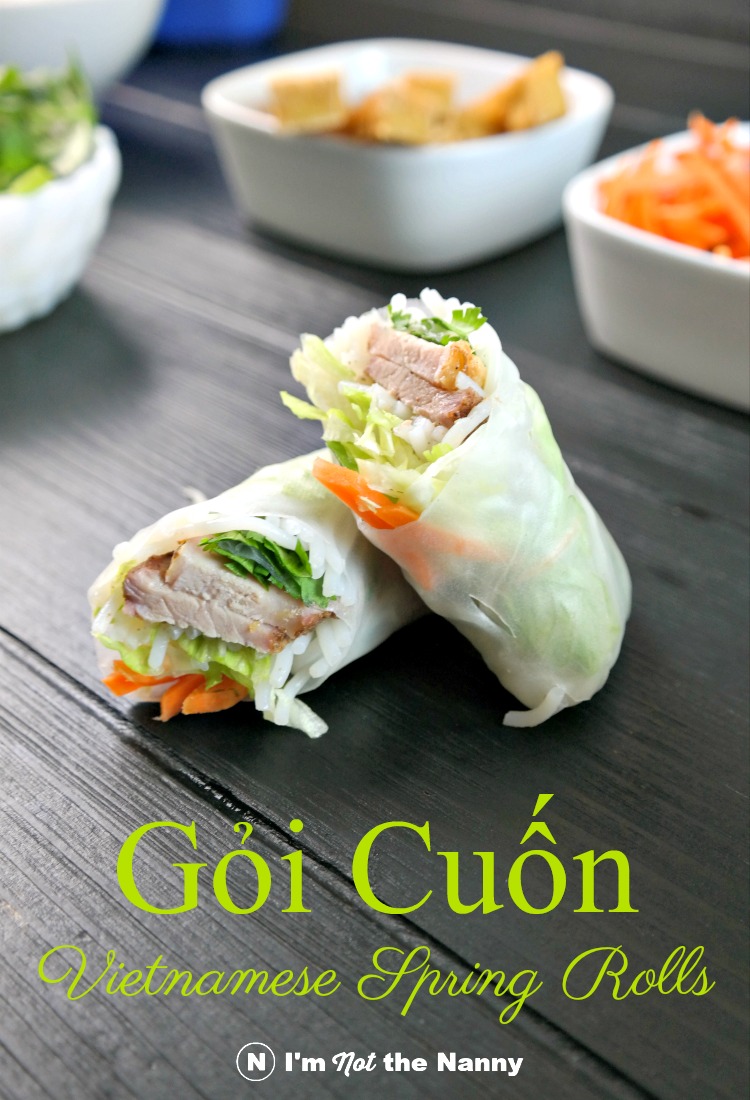
Each bite is composed of multiple textures: chewy rice wrapper, al dente noodles, savory meat, plus the crunch of cucumbers, carrots and lettuce. Dip them into the sweet, tangy, and salty sauce–that’s comfort in a rice wrapper.

I’ve been rolling gỏi cuốn since I was old enough to handle the rice wrapper. My mom prepared all the ingredients, set them on the dinner table with a bowl of hot water. We filled and rolled each one exactly the way we wanted it. As soon as my kids were old enough, I taught them how to play with their food and assemble their very own–if imperfect–spring rolls.
Now my kids are experts at making gỏi cuốn. They talk about the rolls so often, their teachers have asked me to come in and teach their classmates. Follow along the step-by-step photos and soon you’ll be an expert too.
How to Make Vietnamese Spring Rolls
Ingredients
Let’s talk about ingredients first. A traditional spring roll usually contains:
- rice wrapper
- rice noodles (sometimes called vermicelli noodles)
- fresh vegetables and herbs: usually shredded lettuce, sliced cucumbers, cilantro, Chinese chives
- pork (thinly sliced) and shrimp (cut in half lengthways), quickly boiled in salted water
That’s it. The ingredients aren’t fussy and their true flavors are allowed to shine through. My kids love tofu, so I’ve added sticks of pan fried tofu to our repertoire. If I have time, I season the pork with a five spice powder rub–but that’s entirely optional. We hardly use shrimp unless I remember to buy it.
I won’t tell you want you can or can’t put inside your spring roll. One trend I’ve seen is the tendency to cram too many clashing flavors/ingredients inside the rice wrapper. There’s nothing wrong with simplicity and letting the ingredients’ natural flavors shine.
Need a primer on Vietnamese ingredients? Download my free e-guide to Vietnamese pantry staples.
Assembling a Spring Roll
You can either roll several at a time or make it DIY at the dinner table, like we do. I set out all the ingredients with bowl of very warm water to wet the wrappers. Everyone makes their roll just the way they like.
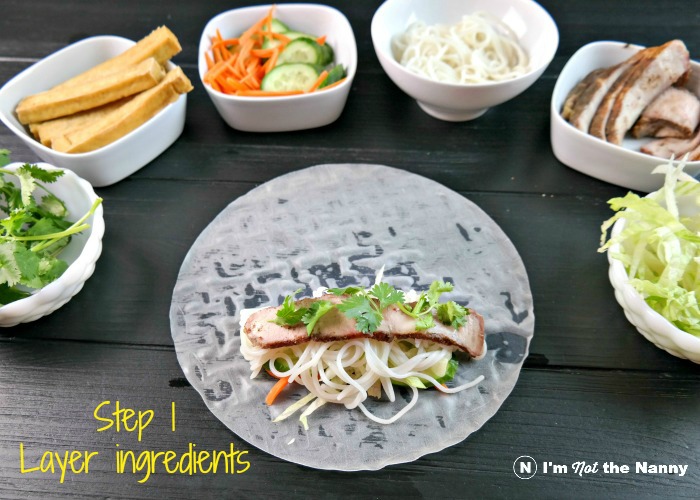
STEP 1: Dip the dry rice wrapper into the hot water, moving quickly to wet both sides entirely. This should take you less than 10 seconds. Let excess water drip off and lay flat on a ceramic or plastic plate. (Don’t use a paper or the wrapper will be too hard to peel off. I learned this the hard way.)
Tip: Careful not to overwet the wrapper. It will slowly absorb the water and become pliable as you add the fillings.
Add your desired filling, leaving a 1.5″ buffer from the outside of the wrapper (see Step 1 photo). I recommend more stable items like cucumbers and lettuce at the bottom. Then top with noodles, add your protein and herbs.
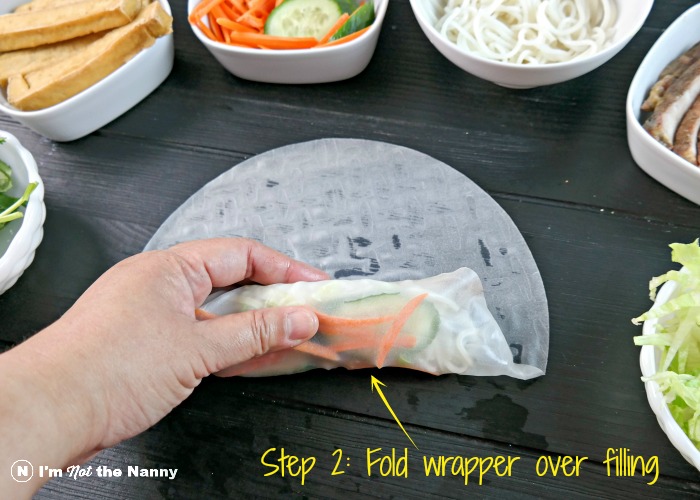
STEP 2: By now, your wrapper should be moist, but not wet and very sticky. Carefully pull the edge nearest to your filling up and over your stack of filling. Complete the roll so that everything is enclosed. The wrapper will stick to itself. Try to make the roll tight but not so much the wrapper will break.

STEP 3: Fold one side over towards the middle. The newly folded side should make a straight edge. Remember, the wrapper will stick to itself. No additional water need.

STEP 4: Repeat with the other side. Your roll is almost finished!

STEP 5: Now that the sides are closed, keep rolling until you reach the end of the wrapper.
Congrats! You’ve successfully made a Vietnamese spring roll!
Make the Dipping Sauce
Now you can decide if you’ll keep making more or just dunk that baby into a bowl of dipping sauce. I personally eat as I make them.
To make the sauce: In a medium bowl, add 1/4 cup of hoisin sauce (I prefer the thicker sauce that comes in a jar) with juice from 1/2 a lime. Mix until lime juice is completely incorporated. Add more lime juice as needed to achieve a balance of tangy and sweet. Optional: add crushed peanuts to sauce.
Hopefully you’ve can see how easy it is to make Vietnamese spring rolls. They’re perfect for those nights when you don’t want to really don’t want to be in the kitchen. The noodles and protein won’t take you long to prep (unless you’re making the fried tofu).
Tip: Make a few extras to pack for lunch. You’ll be glad you did.
If you decide to make gỏi cuốn, post a picture and share it on our Facebook page or tag me on Instagram.
i’m excited to try these, as this was part of my first Vietnamese dinner decades ago. I am also gluen intolerant (?), which makes it all the more appealing.